No-Bake Protein Bars
I’ve been making these No-Bake Protein Bars for busy mornings and post-workout snacks for years—simple to pull together, portable, and reliably satisfying. They’re the kind of recipe you reach for when you want something high in protein without fuss: no oven, no baking time, and flexible enough to adapt to what’s in your pantry.
Why you’ll love this dish
These bars are a fast, affordable, and kid-friendly way to get protein and whole grains into a snack. They come together in minutes, require just a handful of pantry staples, and travel well for commutes, school lunches, or gym bags. Because there’s no baking involved, you avoid heating up the kitchen and can make a batch whenever you’ve got a free 20 minutes.
“Perfect for mornings when I’m running late—keeps me full until lunch and tastes like a treat.” — real tester
Step-by-step overview
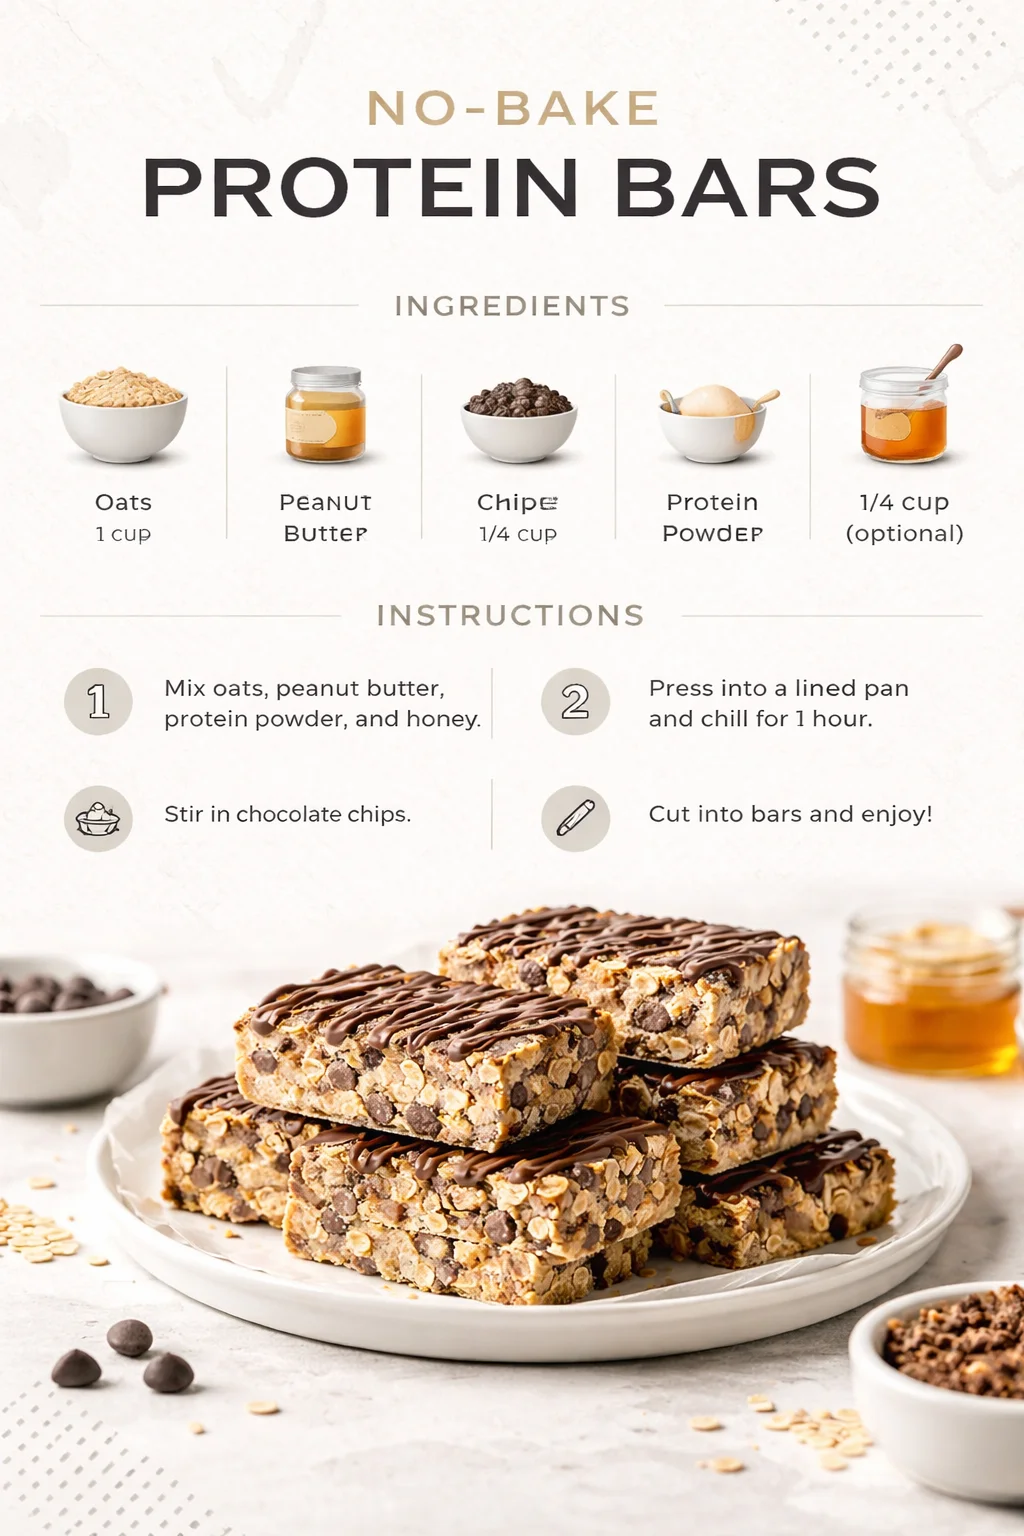
Before you dig in: you’ll mix dry ingredients (oats + protein powder), fold in peanut butter and any sweetener, press the mixture into a lined dish, chill briefly until firm, then slice into bars. Expect about 10–15 minutes active time and ~15 minutes chilling. No special equipment required beyond a bowl, spatula, and a small baking dish.
What you’ll need
- 1 cup rolled oats (use gluten-free oats if needed)
- 1/2 cup creamy peanut butter (or any nut/seed butter)
- 1/4 cup chocolate chips
- 1/2 cup protein powder (whey, pea, or any neutral-flavored powder)
- 1/4 cup honey or maple syrup (optional, for extra sweetness and stickiness)
Notes and substitutions:
- Oats: quick or rolled both work, but rolled give better texture.
- Peanut butter: natural or processed both work; if your peanut butter is very oily, stir it first for even binding. Almond butter, cashew butter, or sunflower seed butter are great swaps.
- Protein powder: choose an unflavored or vanilla powder for the most neutral result; plant-based powders may absorb more liquid—see tips below.
- Sweetener: you can omit the honey/maple if you prefer lower sugar; add a splash of milk (dairy or plant) if mixture feels too dry.
Directions to follow
- Line a small baking dish (8×8-inch or similar) with parchment paper so you can lift the bars out easily.
- In a large mixing bowl, combine the oats, protein powder, and chocolate chips. Stir to distribute everything evenly.
- Add the peanut butter and, if using, the honey or maple syrup. Mix with a spatula or your hands until the mixture is evenly moistened and holds together when pressed. If it’s crumbly, add a teaspoon or two of milk; if too wet, add a tablespoon of oats or protein powder.
- Transfer the mixture to the lined dish and press firmly into an even layer. Use the back of a spoon or a small piece of parchment to get a compact, smooth surface.
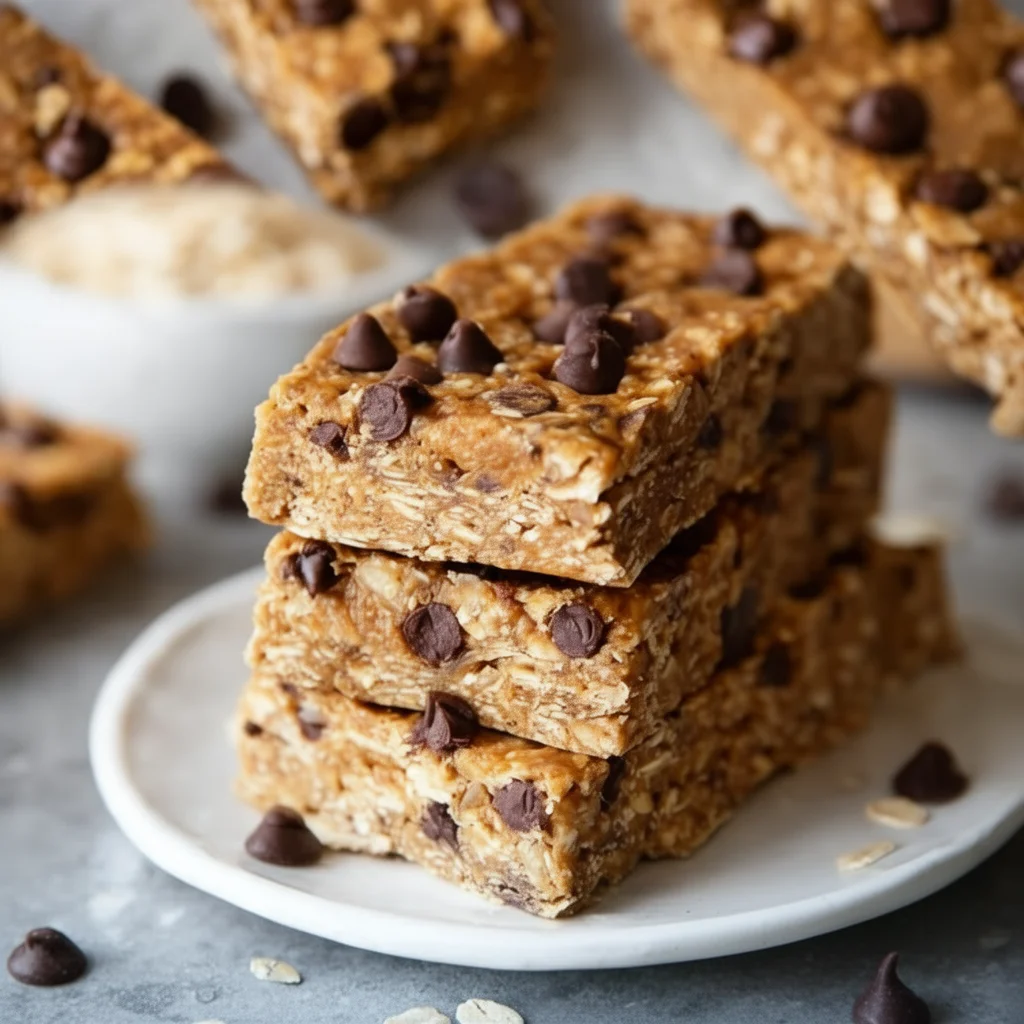
- Refrigerate for about 15 minutes to firm up. Once set, lift the slab out on the parchment, place on a cutting board, and slice into bars or squares. Serve immediately or store as directed below.
Best ways to enjoy it
These bars shine as grab-and-go breakfast replacements, pre- or post-workout fuel, or an afternoon pick-me-up. Pair one bar with:
- A piece of fruit and a cup of coffee for a balanced breakfast.
- Greek yogurt for extra protein at snack time.
- A small green smoothie for a recovery snack after exercise.
If you’re serving them at a gathering, stack on a platter with a few whole fruit slices and a pot of nut butter for dipping.
How to store & freeze
Short-term storage: Keep bars in an airtight container in the fridge for up to 7 days. Layer parchment between bars to prevent sticking.
Freezing: Individually wrap bars in parchment or plastic wrap and place them in a freezer-safe bag for up to 3 months. Thaw in the fridge or at room temperature for 20–30 minutes before eating.
Food safety tip: Because there’s no cooking, keep them chilled if you won’t eat them within a few hours, especially on warm days. Discard if they develop an off smell or mold.
Helpful cooking tips
- Press firmly: denser pressing gives bars that hold together better and cuts cleaner.
- Adjust texture with liquid: if the mix won’t bind, add honey/maple or a teaspoon of milk at a time. If too sticky, add more oats or a scoop of protein powder.
- Chocolate chips: freeze them briefly before mixing in hot ingredients (not needed here) to avoid melting—still good practice.
- Cutting clean bars: chill fully, then use a sharp knife warmed under hot water and wiped dry between cuts for cleaner slices.
- Scaling: double the recipe in a 9×13 dish, but increase chill time slightly.
Creative twists
- Peanut butter cup: fold in mini peanut butter cups instead of chips for an indulgent twist.
- Nut-free: use sunflower seed butter and dairy-free chocolate chips to make these allergy-friendly.
- Fruity: add 1/4 cup dried cranberries, cherries, or chopped dates for chew and sweetness.
- Spiced: stir in 1/2 tsp cinnamon and a pinch of salt for warmth and depth.
- Cacao nibs and coconut: replace chocolate chips with cacao nibs and top with shredded coconut for a tropical, less-sweet bar.
Common questions
Q: How long do these bars last at room temperature?
A: Because there’s peanut butter and no cooking, keep them refrigerated if you don’t plan to eat them within 4–6 hours—especially in warm or humid conditions. At room temp for a day is risky in summer.
Q: Can I make these vegan?
A: Yes. Use a plant-based protein powder and maple syrup instead of honey. Ensure chocolate chips are dairy-free.
Q: My bars are crumbly and fall apart. What went wrong?
A: Most likely they need more binder. Add 1–2 tsps of honey or maple syrup, or a little nut butter. Press very firmly into the dish and chill longer before cutting.
Q: Can I use flavored protein powder (chocolate, vanilla)?
A: Yes—flavored powders work well. Chocolate powder will intensify the chocolate flavor; vanilla is very versatile. Adjust sweetener to taste.
Q: Are these high-protein?
A: Protein content depends on your protein powder and peanut butter. Use the nutrition label on your protein powder and calculate per serving for an exact value.
Conclusion
If you want inspiration from other creators who’ve perfected no-bake bars, check out this version from Quick ‘n Easy No-Bake Protein Bars – Oh She Glows, which focuses on wholesome, plant-friendly options. For another take with detailed tips and variations, see Protein Bars (Easy, Wholesome, No-Bake!) – FIVEheartHOME.
No-Bake Protein Bars

Ingredients
Main Ingredients
- 1 cup rolled oats Use gluten-free oats if needed.
- 1/2 cup creamy peanut butter Or any nut/seed butter.
- 1/4 cup chocolate chips Optional for finishing.
- 1/2 cup protein powder Whey, pea, or any neutral-flavored powder.
- 1/4 cup honey or maple syrup Optional, for extra sweetness and stickiness.
Instructions
Preparation
- Line a small baking dish (8x8-inch or similar) with parchment paper for easy removal.
- In a large mixing bowl, combine the oats, protein powder, and chocolate chips. Stir to evenly distribute.
- Add the peanut butter and honey/maple syrup if using. Mix until the mixture is evenly moistened and holds together when pressed.
- Transfer the mixture to the lined dish, pressing firmly into an even layer.
- Refrigerate for about 15 minutes to firm up. Once set, lift out and slice into bars.