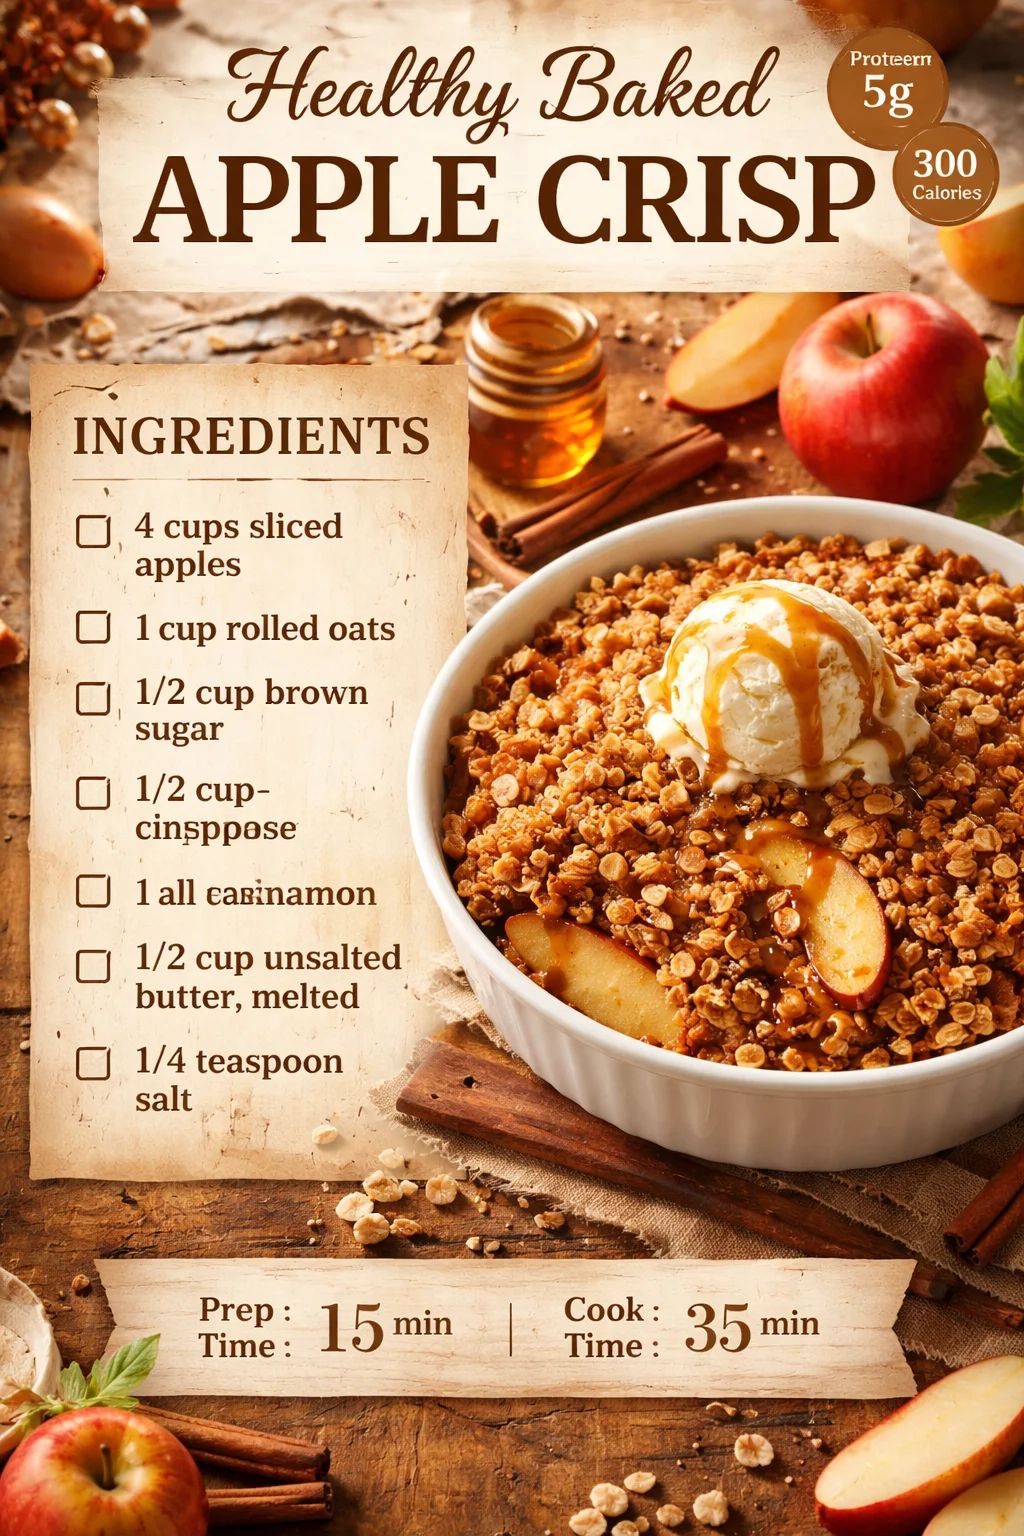
Healthy Baked Apple Crisp
I still remember the first time I baked this apple crisp: the house smelled like cinnamon and warm apples within minutes, and everyone asked for seconds. This Healthy Baked Apple Crisp keeps the cozy, nostalgic flavor of the classic while using simple pantry ingredients—rolled oats for a wholesome crunch and just enough brown sugar and butter to brown the topping without overpowering the fruit. It’s the kind of dessert that’s fast enough for a weeknight and comforting enough for a Sunday brunch.
Why cook this at home
This apple crisp is quick, forgiving, and crowd-pleasing. You don’t need any fancy equipment—just a bowl, a baking dish, and an oven. Because the topping uses oats and a modest amount of brown sugar, it feels lighter than a full-on cake or pie but still delivers that caramelized, crunchy finish everyone loves. It’s perfect when you have a surplus of apples, want a relatively healthful dessert, or need something kid-approved for a potluck.
“Simple to make, naturally cozy, and better than takeout—this recipe is my go-to for last-minute guests.”
Step-by-step overview
This recipe breaks down into three easy phases: toss the apples with cinnamon, mix a crumbly oat topping, and bake until the fruit is tender and the top is golden. Prep is mostly hands-on measuring and stirring, so you can have it in the oven in about 10 minutes. Baking time finishes the work while you set the table or make a quick scoop of yogurt or ice cream.
What you’ll need
- 4 cups sliced apples (about 3 medium apples) — tart varieties like Granny Smith or Honeycrisp work well; softer apples like Fuji will break down more.
- 1 cup rolled oats (not quick oats) — provides chew and structure.
- 1/2 cup packed brown sugar — light or dark both work; dark gives a deeper molasses note.
- 1/2 cup all-purpose flour — helps bind the topping; substitute a 1:1 gluten-free flour if needed.
- 1 teaspoon ground cinnamon — feel free to add a pinch of nutmeg for complexity.
- 1/2 cup unsalted butter, melted — use coconut oil for a dairy-free swap (solidify slightly in the topping before baking).
- 1/4 teaspoon salt — balances the sweetness.
Notes: If you want less sugar, reduce brown sugar to 1/3 cup and add a tablespoon of maple syrup to help with browning. For a nuttier topping, fold in 1/4 cup chopped toasted pecans or walnuts.
Directions to follow
- Preheat your oven to 350°F (175°C). Lightly grease a 9×9-inch or similar-sized baking dish.
- In a large bowl, toss the sliced apples with the teaspoon of cinnamon until evenly coated. Spread the apples in an even layer in the prepared dish.
- In a separate bowl, whisk together the rolled oats, brown sugar, flour, and salt.
- Pour the melted butter over the dry oat mixture. Stir with a fork until the mixture clumps into coarse crumbs.
- Scatter the oat topping evenly over the apples, covering them as much as possible.
- Bake on the center rack for 30–35 minutes. The top should be golden brown and the apples should be bubbling and tender when pierced with a fork.
- Remove from the oven and let rest for 5–10 minutes. Serve warm.
Best ways to enjoy it
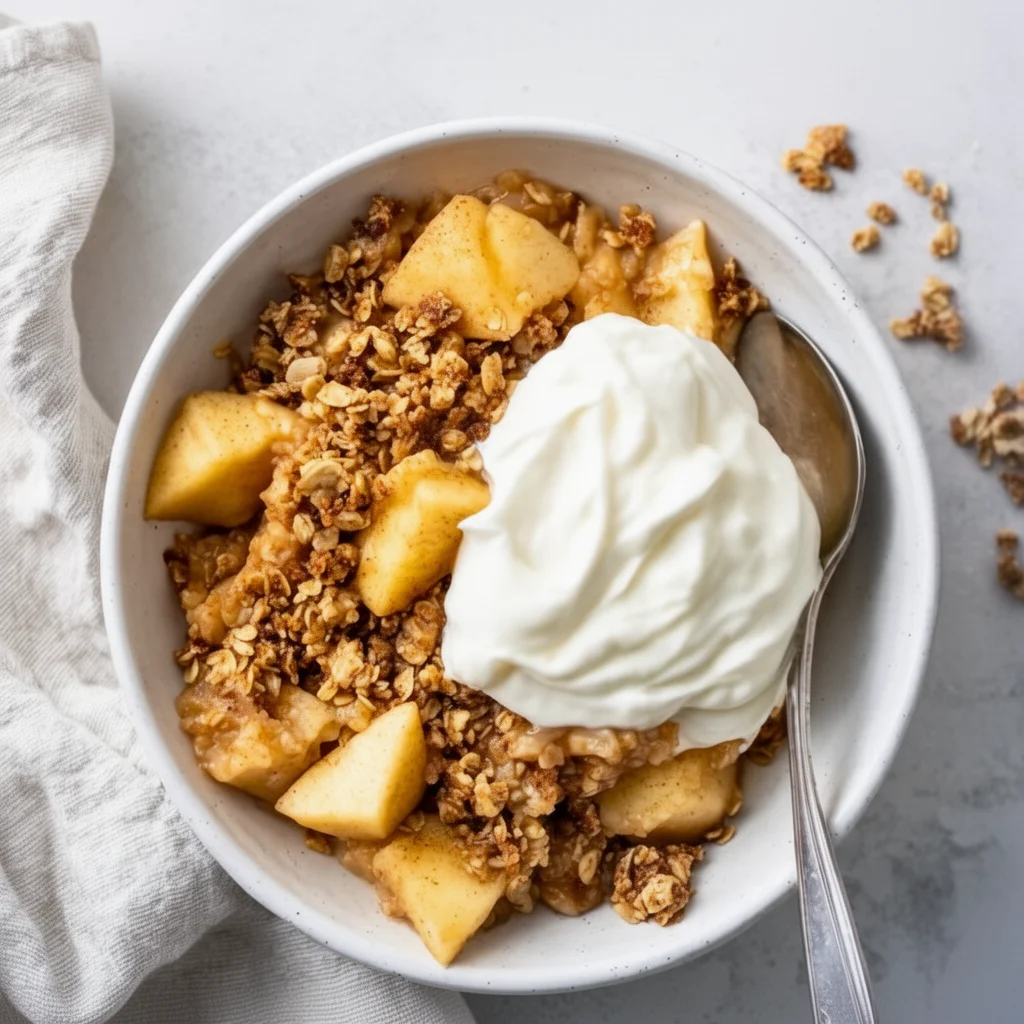
Serve warm straight from the dish for a rustic family-style presentation. Popular pairings:
- A scoop of vanilla ice cream or chilled Greek yogurt for creaminess and contrast.
- A drizzle of heavy cream or a spoonful of mascarpone for richness.
- Toasted nuts or a sprinkle of coarse sea salt on top to elevate texture and flavor.
For brunch, serve with coffee or spiced chai. For a lighter option, pair a small portion with plain yogurt and a sprinkle of granola.
Storage and reheating tips
Refrigeration: Store leftover apple crisp in an airtight container in the refrigerator for up to 4 days.
Reheating: Reheat single portions in the microwave for 20–30 seconds or warm a whole dish in a 325°F (160°C) oven until heated through (about 15–20 minutes). To revive crispiness, bake uncovered.
Freezing: Freeze cooled crisp in an oven-safe container for up to 3 months. Thaw in the refrigerator overnight and reheat in a 350°F oven until hot.
Food safety: Cool to room temperature no longer than 2 hours before refrigerating. If reheating from frozen, ensure it reaches 165°F (74°C) internally.
Pro chef tips
- Use firm, tart apples for structure so the filling doesn’t become mushy. Mix two varieties (one tart, one sweet) for layered flavor.
- Cut apples evenly so they cook uniformly. Aim for 1/4-inch to 1/2-inch slices.
- For a crispier topping, chill the oat mixture for 10 minutes before sprinkling; cold butter bits will create better flakiness as they bake.
- If topping browns too quickly, tent with foil for the last 10 minutes of baking.
- Want a gluten-free crisp? Use certified gluten-free oats and swap the flour for almond or gluten-free blend.
Creative twists
- Spiced Maple Apple Crisp: Replace half the brown sugar with 2 tbsp maple syrup and add 1/4 tsp ground nutmeg and 1/8 tsp cloves.
- Fruit mix: Stir in 1 cup fresh or frozen berries for a bright contrast. If using frozen fruit, do not thaw—add a few extra minutes of bake time.
- Streusel upgrade: Add 1/4 cup chopped pecans and a tablespoon of flaxseed to the topping for extra crunch and nutrition.
- Lower-sugar: Use 1/3 cup coconut sugar and a tablespoon of lemon juice to highlight the apples without adding sweetness.
- Vegan: Swap butter for solid coconut oil (melted) and serve with dairy-free ice cream.

Your questions answered
Q: What type of apple is best for apple crisp?
A: Firm, slightly tart apples like Granny Smith, Pink Lady, or Honeycrisp hold their shape and balance sweetness. Mixing a tart apple with a sweeter one (e.g., Honeycrisp + Gala) gives the best flavor complexity.
Q: Can I make this ahead of time?
A: Yes. Assemble the crisp, cover, and refrigerate for up to 24 hours before baking. You may need an extra 5–8 minutes in the oven if baking straight from the fridge.
Q: Is there a gluten-free or dairy-free version?
A: Absolutely. Use certified gluten-free rolled oats and substitute the flour with almond flour or a gluten-free flour blend. Replace butter with coconut oil or a vegan butter substitute.
Q: Can I use frozen apples or pre-sliced apples from the store?
A: Frozen apples work but add a few extra minutes of baking and drain any excess liquid if they’re waterlogged. Pre-sliced apples are fine—just pat them dry if they’re very moist.
Q: How do I keep the topping crunchy?
A: Bake uncovered and serve soon after reheating. If storing leftovers, re-crisp in the oven at 350°F for 10–15 minutes rather than microwaving.
Conclusion
This Healthy Baked Apple Crisp is an easy, comforting dessert that’s adaptable to diets and schedules—perfect for using up apples and pleasing a crowd. For more healthy apple crisp ideas and variations, see a detailed riff on the classic at The Ultimate Healthy Apple Crumble and another simple healthy version at Healthy Apple Crisp – Sweet Savory and Steph. Enjoy experimenting and making this recipe your own.
Healthy Baked Apple Crisp

Ingredients
For the Apple Filling
- 4 cups sliced apples (about 3 medium apples) Tart varieties like Granny Smith or Honeycrisp work well.
- 1 teaspoon ground cinnamon Feel free to add a pinch of nutmeg for complexity.
For the Oat Topping
- 1 cup rolled oats (not quick oats) Provides chew and structure.
- 1/2 cup packed brown sugar Light or dark both work; dark gives a deeper molasses note.
- 1/2 cup all-purpose flour Substitute a 1:1 gluten-free flour if needed.
- 1/4 teaspoon salt Balances the sweetness.
- 1/2 cup unsalted butter, melted Use coconut oil for a dairy-free swap.
Instructions
Preparation
- Preheat your oven to 350°F (175°C). Lightly grease a 9x9-inch or similar-sized baking dish.
- In a large bowl, toss the sliced apples with the teaspoon of cinnamon until evenly coated. Spread the apples in an even layer in the prepared dish.
- In a separate bowl, whisk together the rolled oats, brown sugar, flour, and salt.
- Pour the melted butter over the dry oat mixture. Stir with a fork until the mixture clumps into coarse crumbs.
- Scatter the oat topping evenly over the apples, covering them as much as possible.
Baking
- Bake on the center rack for 30–35 minutes. The top should be golden brown and the apples should be bubbling and tender when pierced with a fork.
- Remove from the oven and let rest for 5–10 minutes. Serve warm.